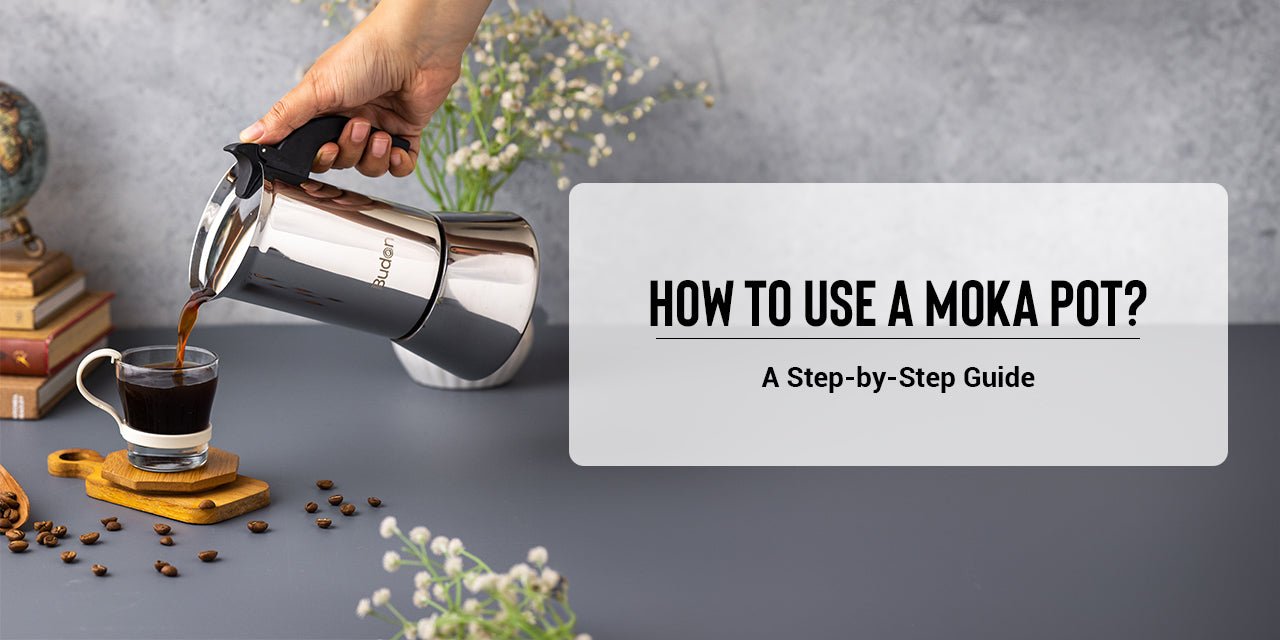
For many coffee lovers, there’s something special about the ritual of brewing coffee at home. While espresso machines and pour-over kits have their charm, the humble Moka pot remains a timeless favourite. Invented in Italy in the 1930s, the stovetop Moka pot offers a simple, affordable, and flavourful way to make rich coffee that sits somewhere between espresso and drip.

If you’re new to this brewing method, you might be wondering about things like technique, grind size, and even how long does a Moka Pot take to brew a cup. The truth is, while the process is straightforward, a little care and know-how can make all the difference. This guide will walk you through everything you need to know to consistently craft the perfect cup.
Why Choose a Moka Pot?
Before diving into the method, let’s explore why the Moka pot is worth your time:
– Rich flavour: The pressurised brewing process extracts a bold, aromatic coffee that’s more concentrated than drip but less intense than espresso.
– Affordability: A quality Moka pot is inexpensive compared to espresso machines.
– Durability: With minimal parts and sturdy construction, a Moka pot can last for decades with proper care.
– Tradition: Brewing with a Moka pot feels like a ritual, connecting you to generations of coffee drinkers who have used this iconic method.
What You’ll Need
Before brewing, gather these essentials:
– Moka pot: Available in different sizes (usually measured in cups). Choose one that suits how much coffee you typically make.
– Freshly ground coffee: Medium-fine grind works best. Too coarse, and the brew will be weak; too fine, and you risk clogging the filter.
– Filtered water: Using clean, filtered water enhances flavour and prevents mineral build-up.
– Heat source: A stovetop, whether gas, electric, or induction (check your pot’s compatibility).
Step 1: Preheat Your Water
One of the simplest tricks for improving your brew is preheating your water before adding it to the Moka pot’s bottom chamber. This reduces the time the coffee grounds spend exposed to high heat, preventing bitterness. Bring filtered water to a boil in a kettle, then pour it into the bottom chamber up to the safety valve.
Step 2: Add the Coffee Grounds
Insert the filter basket into the bottom chamber. Fill it with your ground coffee, levelling it off with your finger or the flat side of a spoon. Important: Do not tamp (press down) the coffee grounds – unlike espresso, which requires tamping, the Moka pot relies on water pressure passing evenly through loose grounds. Overpacking can create too much pressure, leading to over-extraction or even safety hazards.
Step 3: Assemble the Moka Pot
With the filter basket in place and filled, screw the top and bottom chambers together firmly. Be careful, as the bottom chamber will be hot if you used preheated water. Use a towel or oven mitt to avoid burns.
Step 4: Place on the Stove
Set the assembled Moka pot on a low-to-medium heat source. The goal is to heat the water gradually, ensuring a smooth and even extraction. If the heat is too high, the coffee will spurt out aggressively, resulting in a burnt or bitter taste. Gentle heat produces a steady flow and a cleaner flavour.
Step 5: Watch the Magic Happen
As the water in the bottom chamber heats up, pressure builds, pushing it through the coffee grounds and into the upper chamber as brewed coffee. You’ll hear a gentle hissing or bubbling sound as the process nears completion. The top chamber will fill with rich, aromatic coffee. Pro tip: Once the coffee stream turns from a steady flow into a sputtering trickle, remove the pot from the heat immediately. This prevents over-extraction and bitterness.
Step 6: Cool the Base (Optional but Recommended)
To halt the brewing process quickly and preserve flavour, you can run the bottom chamber under cold water. This prevents residual heat from forcing unwanted compounds into the coffee.
Step 7: Pour and Enjoy
Give the coffee a gentle stir in the top chamber to mix the layers before pouring into cups. Serve black or add milk, depending on your preference.
Extra Tips for a Perfect Brew
– Grind size matters: Aim for a grind slightly finer than drip but coarser than espresso.
– Use fresh coffee: Stale beans dull the flavour. Grind fresh if possible.
– Keep it clean: Wash your Moka pot after each use with warm water. Avoid soap, which can leave residue and affect flavour.
– Experiment: Try different beans, roast levels, and ratios until you find your ideal cup.
Common Mistakes to Avoid
1. Using cold water in the base: This prolongs heating and can overcook your grounds.
2. Packing the filter too tightly: This restricts water flow and increases pressure.
3. Brewing on high heat: This causes spurting, bitterness, and a burnt taste.
4. Leaving it on the stove after brewing: This leads to over-extraction.
Variations and Serving Ideas
While the Moka pot makes a strong, espresso-like coffee, you can use it as the base for a range of drinks:
– Caffè Latte: Add steamed milk for a creamy cup.
– Flat White: Similar to a latte but with a stronger coffee-to-milk ratio.
– Iced Coffee: Brew a pot, let it cool, and pour over ice with milk or sugar.
– Mocha: Mix with hot chocolate for a sweet indulgence.
How Long Should the Whole Process Take?
From start to finish, brewing with a Moka pot typically takes 5–10 minutes, depending on your preparation method. If you preheat the water, the actual brewing time on the stove is usually just a few minutes. This makes the Moka pot a convenient choice for those who want café-style coffee at home without investing in an expensive machine or waiting around too long.
The Moka pot is more than just a coffee maker—it’s a brewing tradition that delivers bold flavour and a satisfying ritual
With a little practice and attention to detail, you’ll consistently produce a cup that rivals café coffee. Whether you’re starting your day with a strong morning brew or sharing coffee with friends, the Moka pot offers a rewarding and time-tested method that has stood the test of time. So, the next time someone asks you how to brew the perfect cup, you’ll not only know the answer—you’ll be able to show them step by step.
